This is a badge bit (BB) that is part of the
PEM curriculum. Completing this BB is part of getting the sand badge in
Earthworks.
Swales are an excellent way to Slow, Sink and Spread water on the landscape. Let's get out the shovel and make one happen!


Here's a video of what we're after:
Minimum requirements:
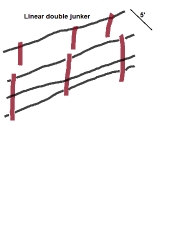
- Create 36 feet of swales on sloped land
- Can be two swales that add up to 36 feet
- On contour
- Deep enough so when completely full of water it's at least 8" deep
- Level berm on downhill side
- Immediately seeded and mulched
- Has a spillway
Provide proof of the following as pictures or video (<2 min):
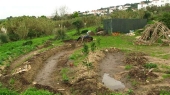
- Landscape you're starting with
- Contour marked out with the device you used to ensure it's on contour
- Excavation underway
- Depth of excavation (perhaps a level resting on the berm at one end and a tape measure showing depth)
- Finished swale(s) showing length is at least 36'
- Seeding the swale and berm
- Mulching the swale and berm
- Spillway


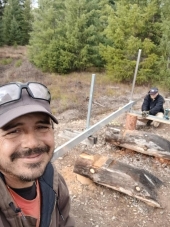
 Mike is a homesteader, gardener, engineer, wood worker, blacksmith and most recently a greenhouse designer. He heard about permaculture in 2015 and has been learning ever since.